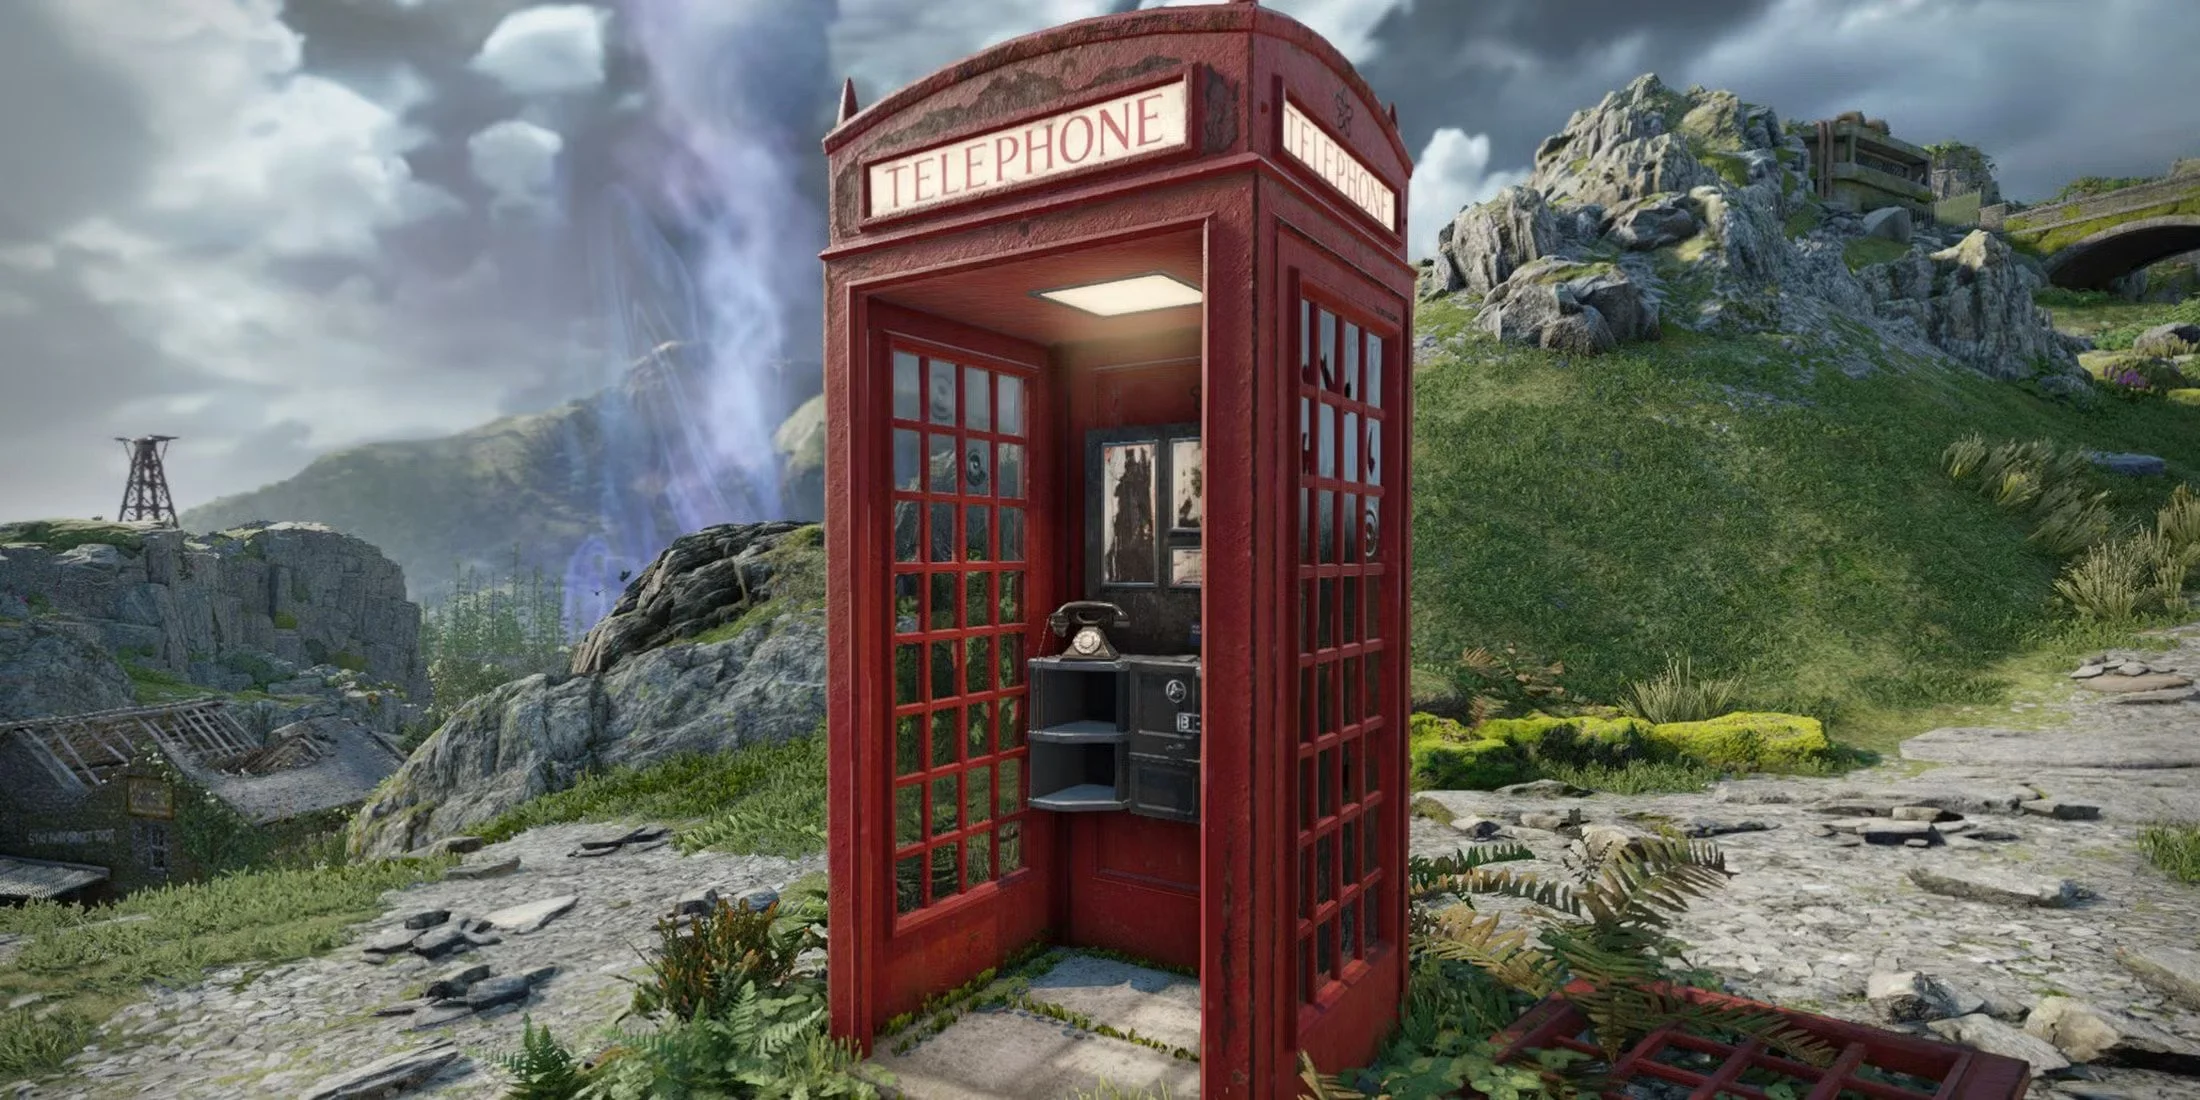
Battlefield 6: More Tips
Multiplayer gameplay in Battlefield 6 is often fast, chaotic and disorientating. There are numerous controls to learn and game mechanics to familiarise yourself with. It can be a struggle at times to try and navigate your keyboard while under fire. Often you will lose in a gunfight simply because you don’t know about something important that could help you out or save your life. Like many other online games, it all comes down to experience. So here are some further tips regarding gameplay, settings and online etiquette, that will broaden your knowledge of Battlefield 6 and hopefully improve your online experience. As ever these tips are in no particular order. Some may be self-evident, others not. They’re written from the perspective of a PC player but are applicable to all platforms.
Multiplayer gameplay in Battlefield 6 is often fast, chaotic and disorientating. There are numerous controls to learn and game mechanics to familiarise yourself with. It can be a struggle at times to try and navigate your keyboard while under fire. Often you will lose in a gunfight simply because you don’t know about something important that could help you out or save your life. Like many other online games, it all comes down to experience. So here are some further tips regarding gameplay, settings and online etiquette, that will broaden your knowledge of Battlefield 6 and hopefully improve your online experience. As ever these tips are in no particular order. Some may be self-evident, others not. They’re written from the perspective of a PC player but are applicable to all platforms.
Any class can drag and heal another incapacitated player. This is essential to conserving tickets.
Interact with Support players by pressing E, LS to replenish ammo. Alternatively request ammo by using the radial menu.
Take the high ground in combat. It is easier to spot enemies and direct your squad from elevated positions. It is easier to fire down on an enemy for an enemy to fire up.
Within the game’s graphic settings lower the World Brightness from 50 to 40. It improves visual clarity.
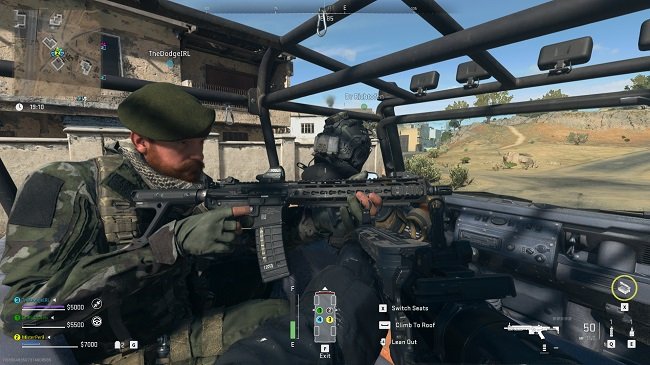
Do not take vehicles without allowing other players the option of joining you. A solo player cannot drive as well as fire primary and secondary weapons. Vehicles have both an offensive use, as well as providing team transportation.
Use the combat roll to negate or reduce fall damage. Just press jump while dropping down from a building. For distances under 8 metres and you sustain no damage.
Do not use a sniper rifle outside of the Recon class as it randomly misses shots by design.
Charge your defibrillators by pressing the trigger on your mouse or controller before reviving players, as it brings them back with more health.
Suppressed weapons do not show as a red dot on the minimap at 15 metres distance, when fired. Players firing suppressed weapons in your line of sight do not show a red dot above their heads.
Use the tactical ladder to access windows, climb walls and to reach elevated cover.
Support class ammo bags are proximity-based and will resupply ammo in the AoE radius. The bag also provides a low, passive heal over time. Ammo bags can also be used to boost your initial stock of grenades and RPGs.
Initiation Breakthrough is a tutorial game mode featuring enemy bots, designed for new players to learn the basics of the game. It becomes unavailable between levels 10 to 20, depending on how much you use it.
Turn on Helicopter Control Assist within the game settings, as it allows the helicopter to hover automatically when no player input is applied.
When driving a tank, you can toggle between two different types of ammunition. Choose between anti-personnel or armour piercing, when in combat.
When on fire, extinguish flames by going prone and crawling.


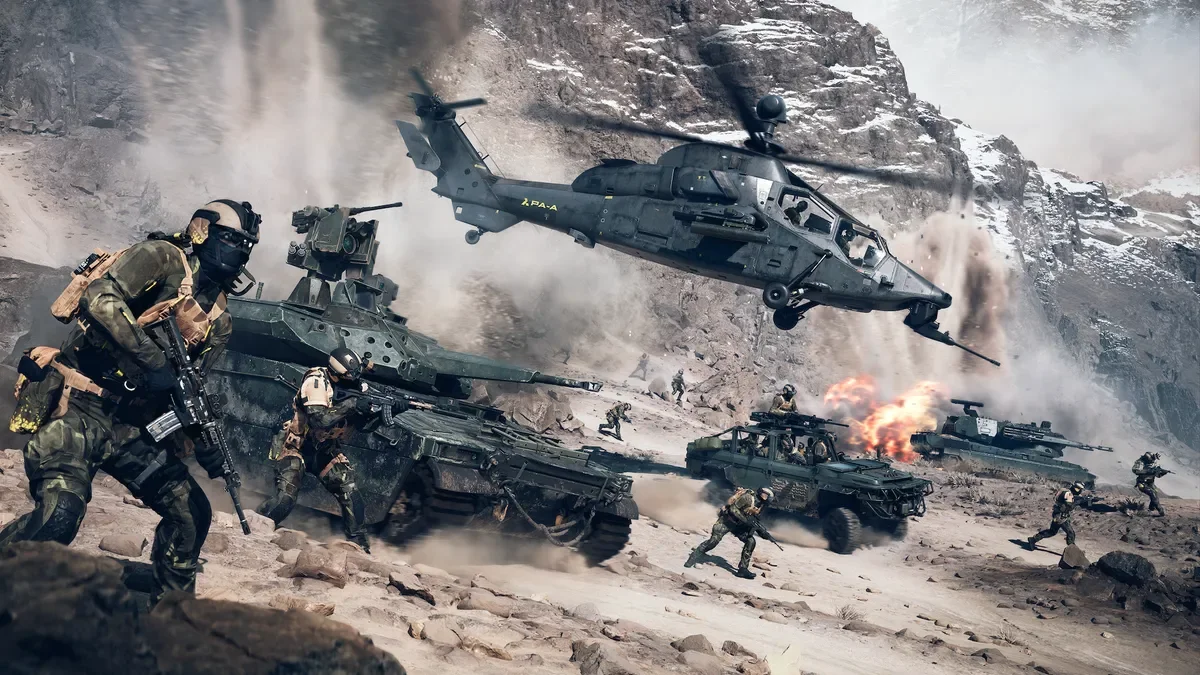
Battlefield 6: Tips
Although Battlefield 6 is a straightforward and self-explanatory multiplayer FPS, there are a great deal of controls, systems and game mechanics to master. Simply learning your controller or keyboard layout takes some time. There is also a lot of information about the game that, if known, can greatly improve your online experience. These can range from simple changes to default settings to understanding how weapons handle in-game and how to control them effectively. Hence, I thought it would be useful to new or returning players, to collate a list of tips for Battlefield 6. Some are quite obvious where others may not be quite so well known. They’re in no particular order. Hopefully you’ll find them useful.
Although Battlefield 6 is a straightforward and self-explanatory multiplayer FPS, there are a great deal of controls, systems and game mechanics to master. Simply learning your controller or keyboard layout takes some time. There is also a lot of information about the game that, if known, can greatly improve your online experience. These can range from simple changes to default settings to understanding how weapons handle in-game and how to control them effectively. Hence, I thought it would be useful to new or returning players, to collate a list of tips for Battlefield 6. Some are quite obvious where others may not be quite so well known. They’re in no particular order. Hopefully you’ll find them useful.
Do not fire your weapon continuously because the longer you fire, the more bullet spread (or bloom ) you will experience. Tap fire to reduce bloom. You can also switch to semi-auto or burst fire (if the weapon supports it) for increased accuracy.
Mount your weapon on both horizontal and vertical surfaces for stability. If your weapon has a bipod equipped, press the melee button while lying prone to mount on the ground.
Weapons are zeroed to 50 metres, apart from sniper rifles. Therefore when ADS firing at close range, aim lower, IE at the groin or abdomen, to hit the central body mass. Otherwise you will fire too high.
Hip firing at close quarters is quicker and potentially more accurate.
When in combat, go prone selectively and tactically as you don’t register on the minimap when shooting and there is less recoil.
Use the game audio to your advantage. The game’s sound design is very good at providing audio cues and indicating location. Using a headset greatly helps pinpoint sounds.
Use the minimap. Increase its size via settings and consult it regularly. It shows enemy locations as well as your squad mates and team. Use it to locate resources such as ammo supplies.
Spot enemies by aiming at them and pressing the Q, L1 or LB. It is easier using a drone on the Recon class as you just have to move the crosshairs over the target to mark them.
Use the mounted heavy weapons such as the machine guns and recoilless guns when targets present themselves. They are accurate and deadly if used effectively. If possible, have a squad mate cover you while using mounted weapons.
Whenever possible attack tanks from the rear, where their armour is weakest. If you’re a Recon class, be creative with the use of C4. IE attach to vehicles and drones etc.
Engineers can use smoke grenades to provide cover when advancing, retreating and reviving players. Remember that smoke can be countered by the use of thermal weapon optics.
When running, stow your weapons and run with your combat knife, defibrillators or engineer tool equipped, to go faster.
Beware sniper scope glint. White glint shows a sniper aiming. A rainbow glint indicates that you’re at the right range for a one shot kill.
The Support class can use deployable cover at strategic locations and chokepoints. Engineers can repair deployable cover.
Any class can change the default melee weapon from knife to a sledgehammer. Use them to get through walls and floors, providing alternate routes to a strategic target.
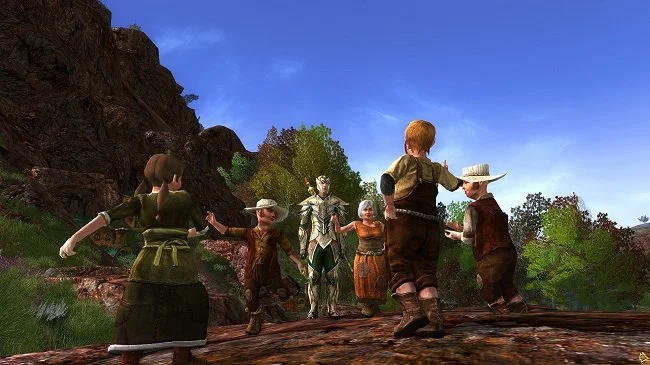
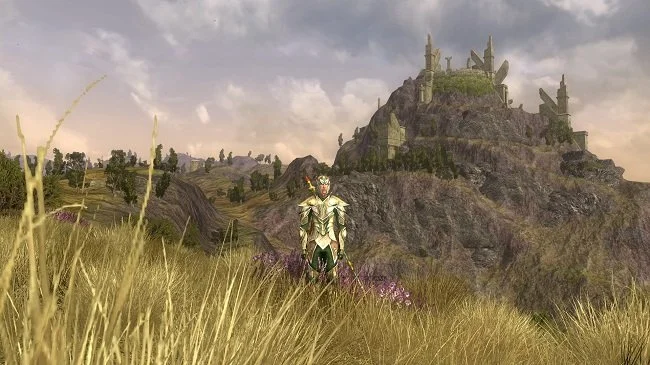
LOTRO Tips
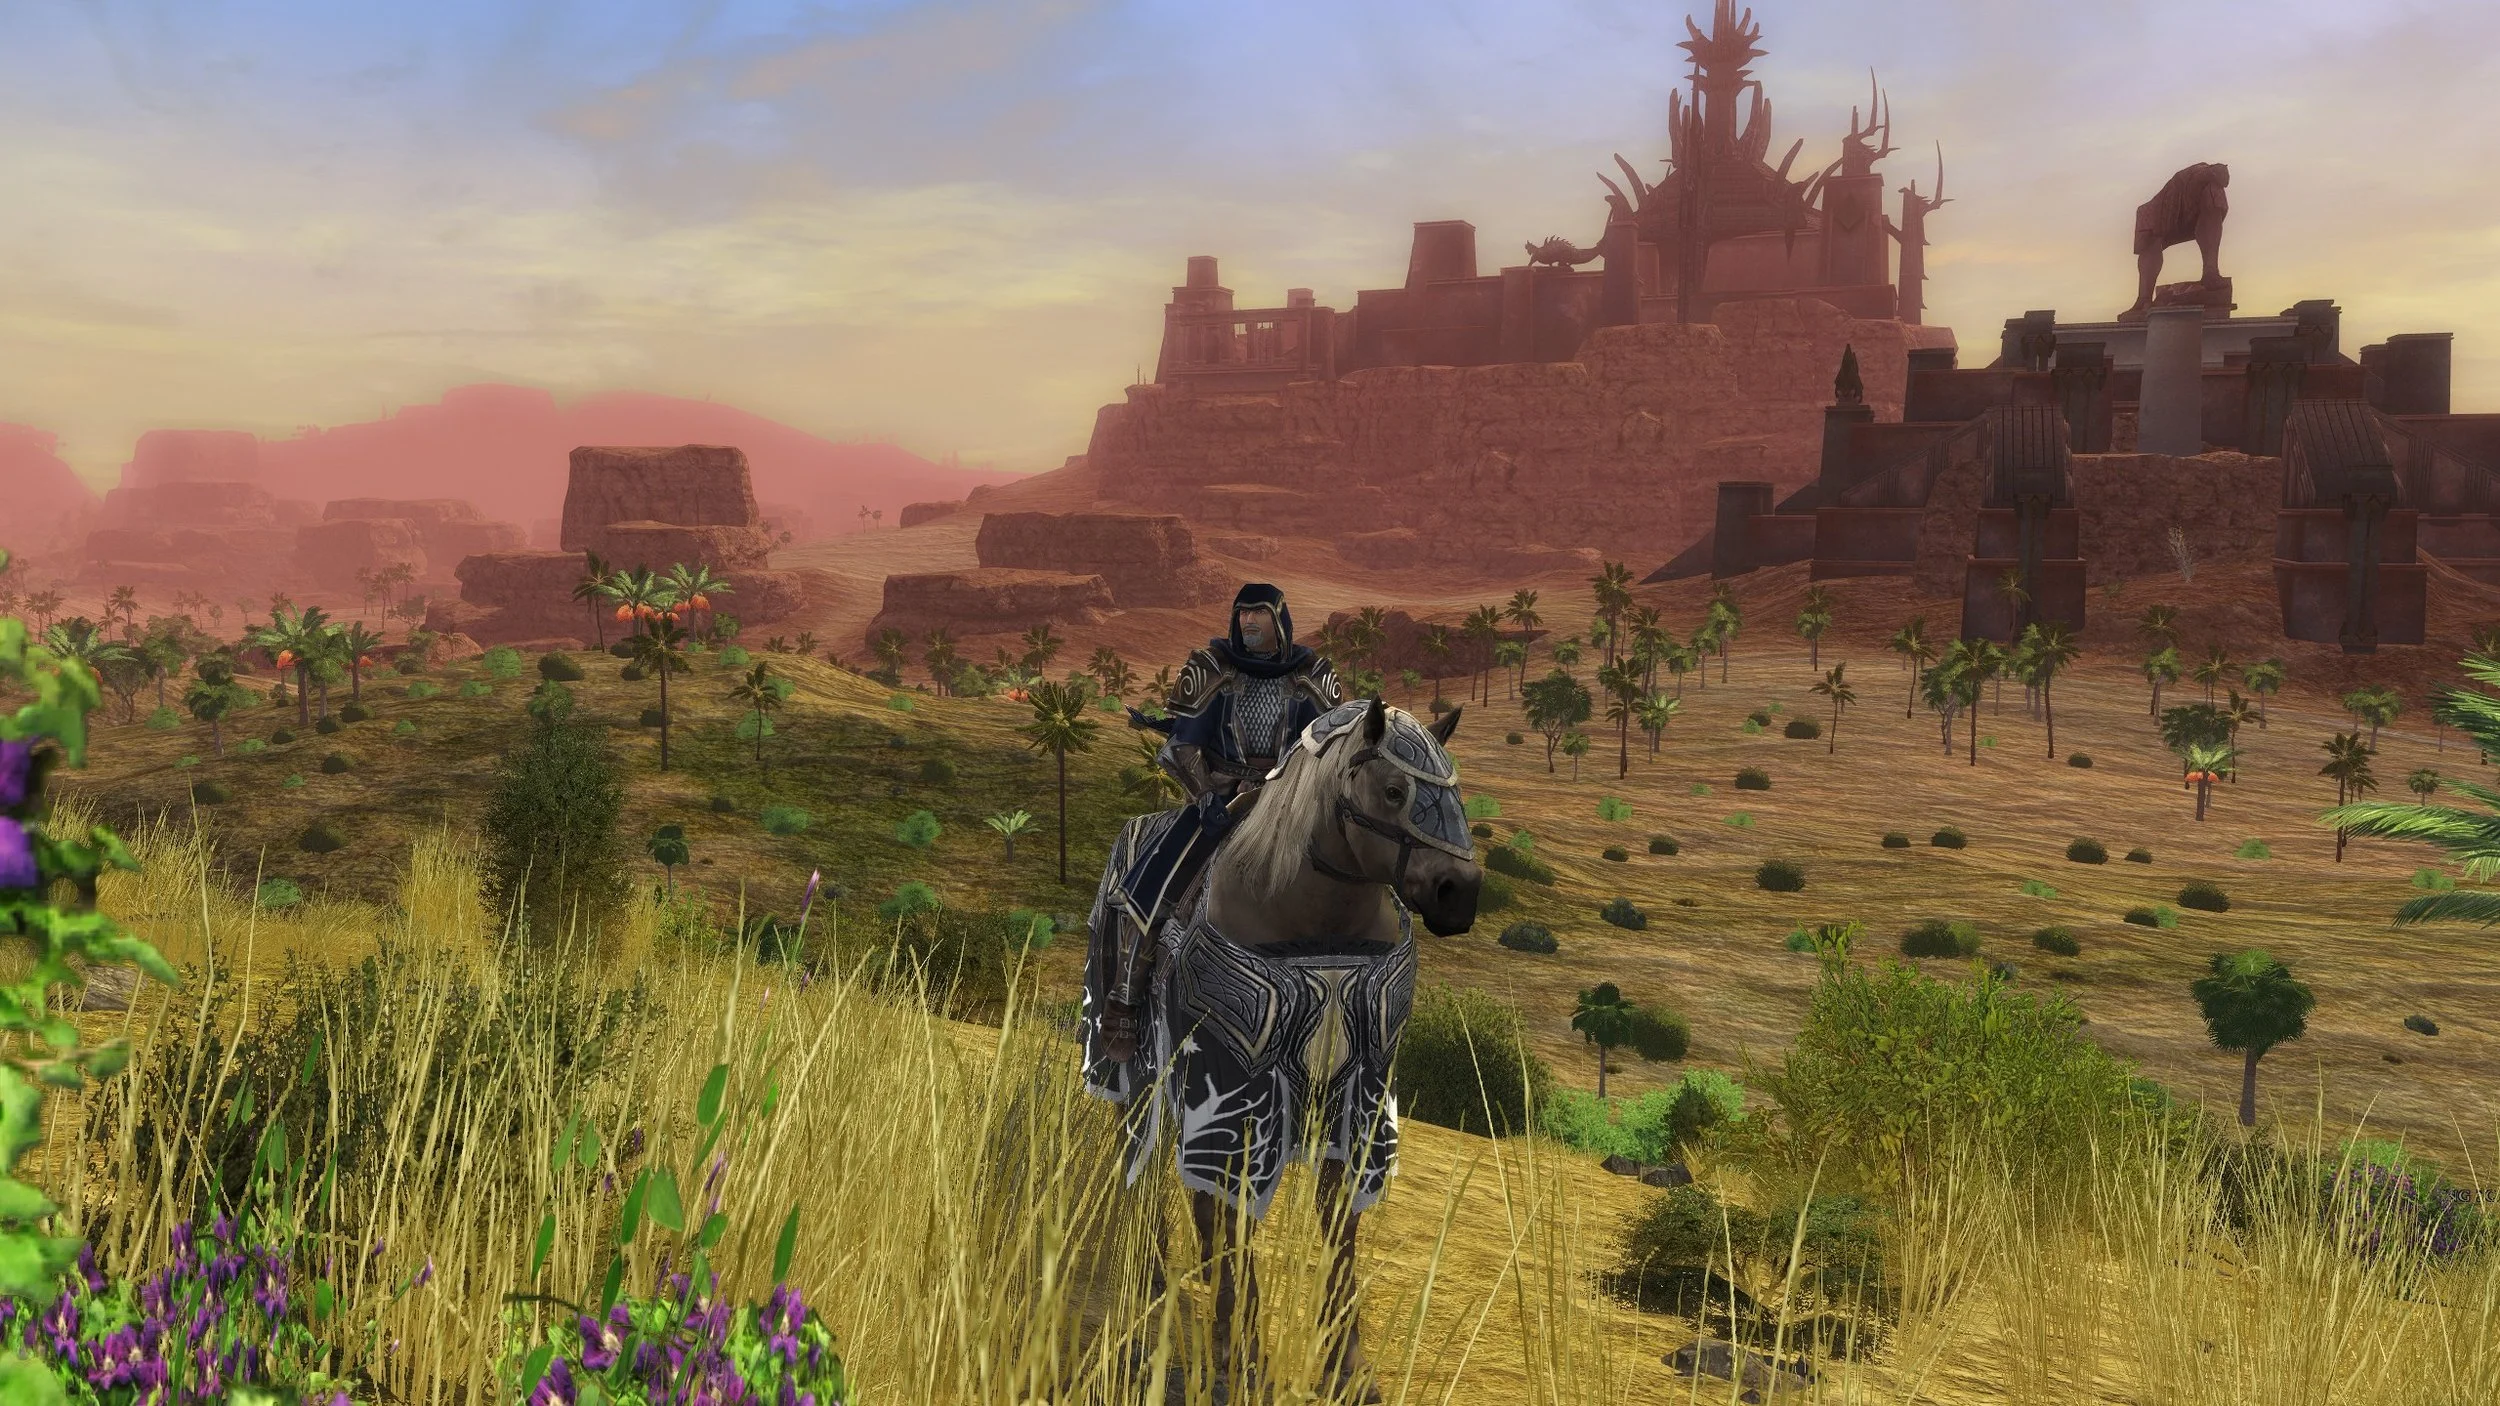
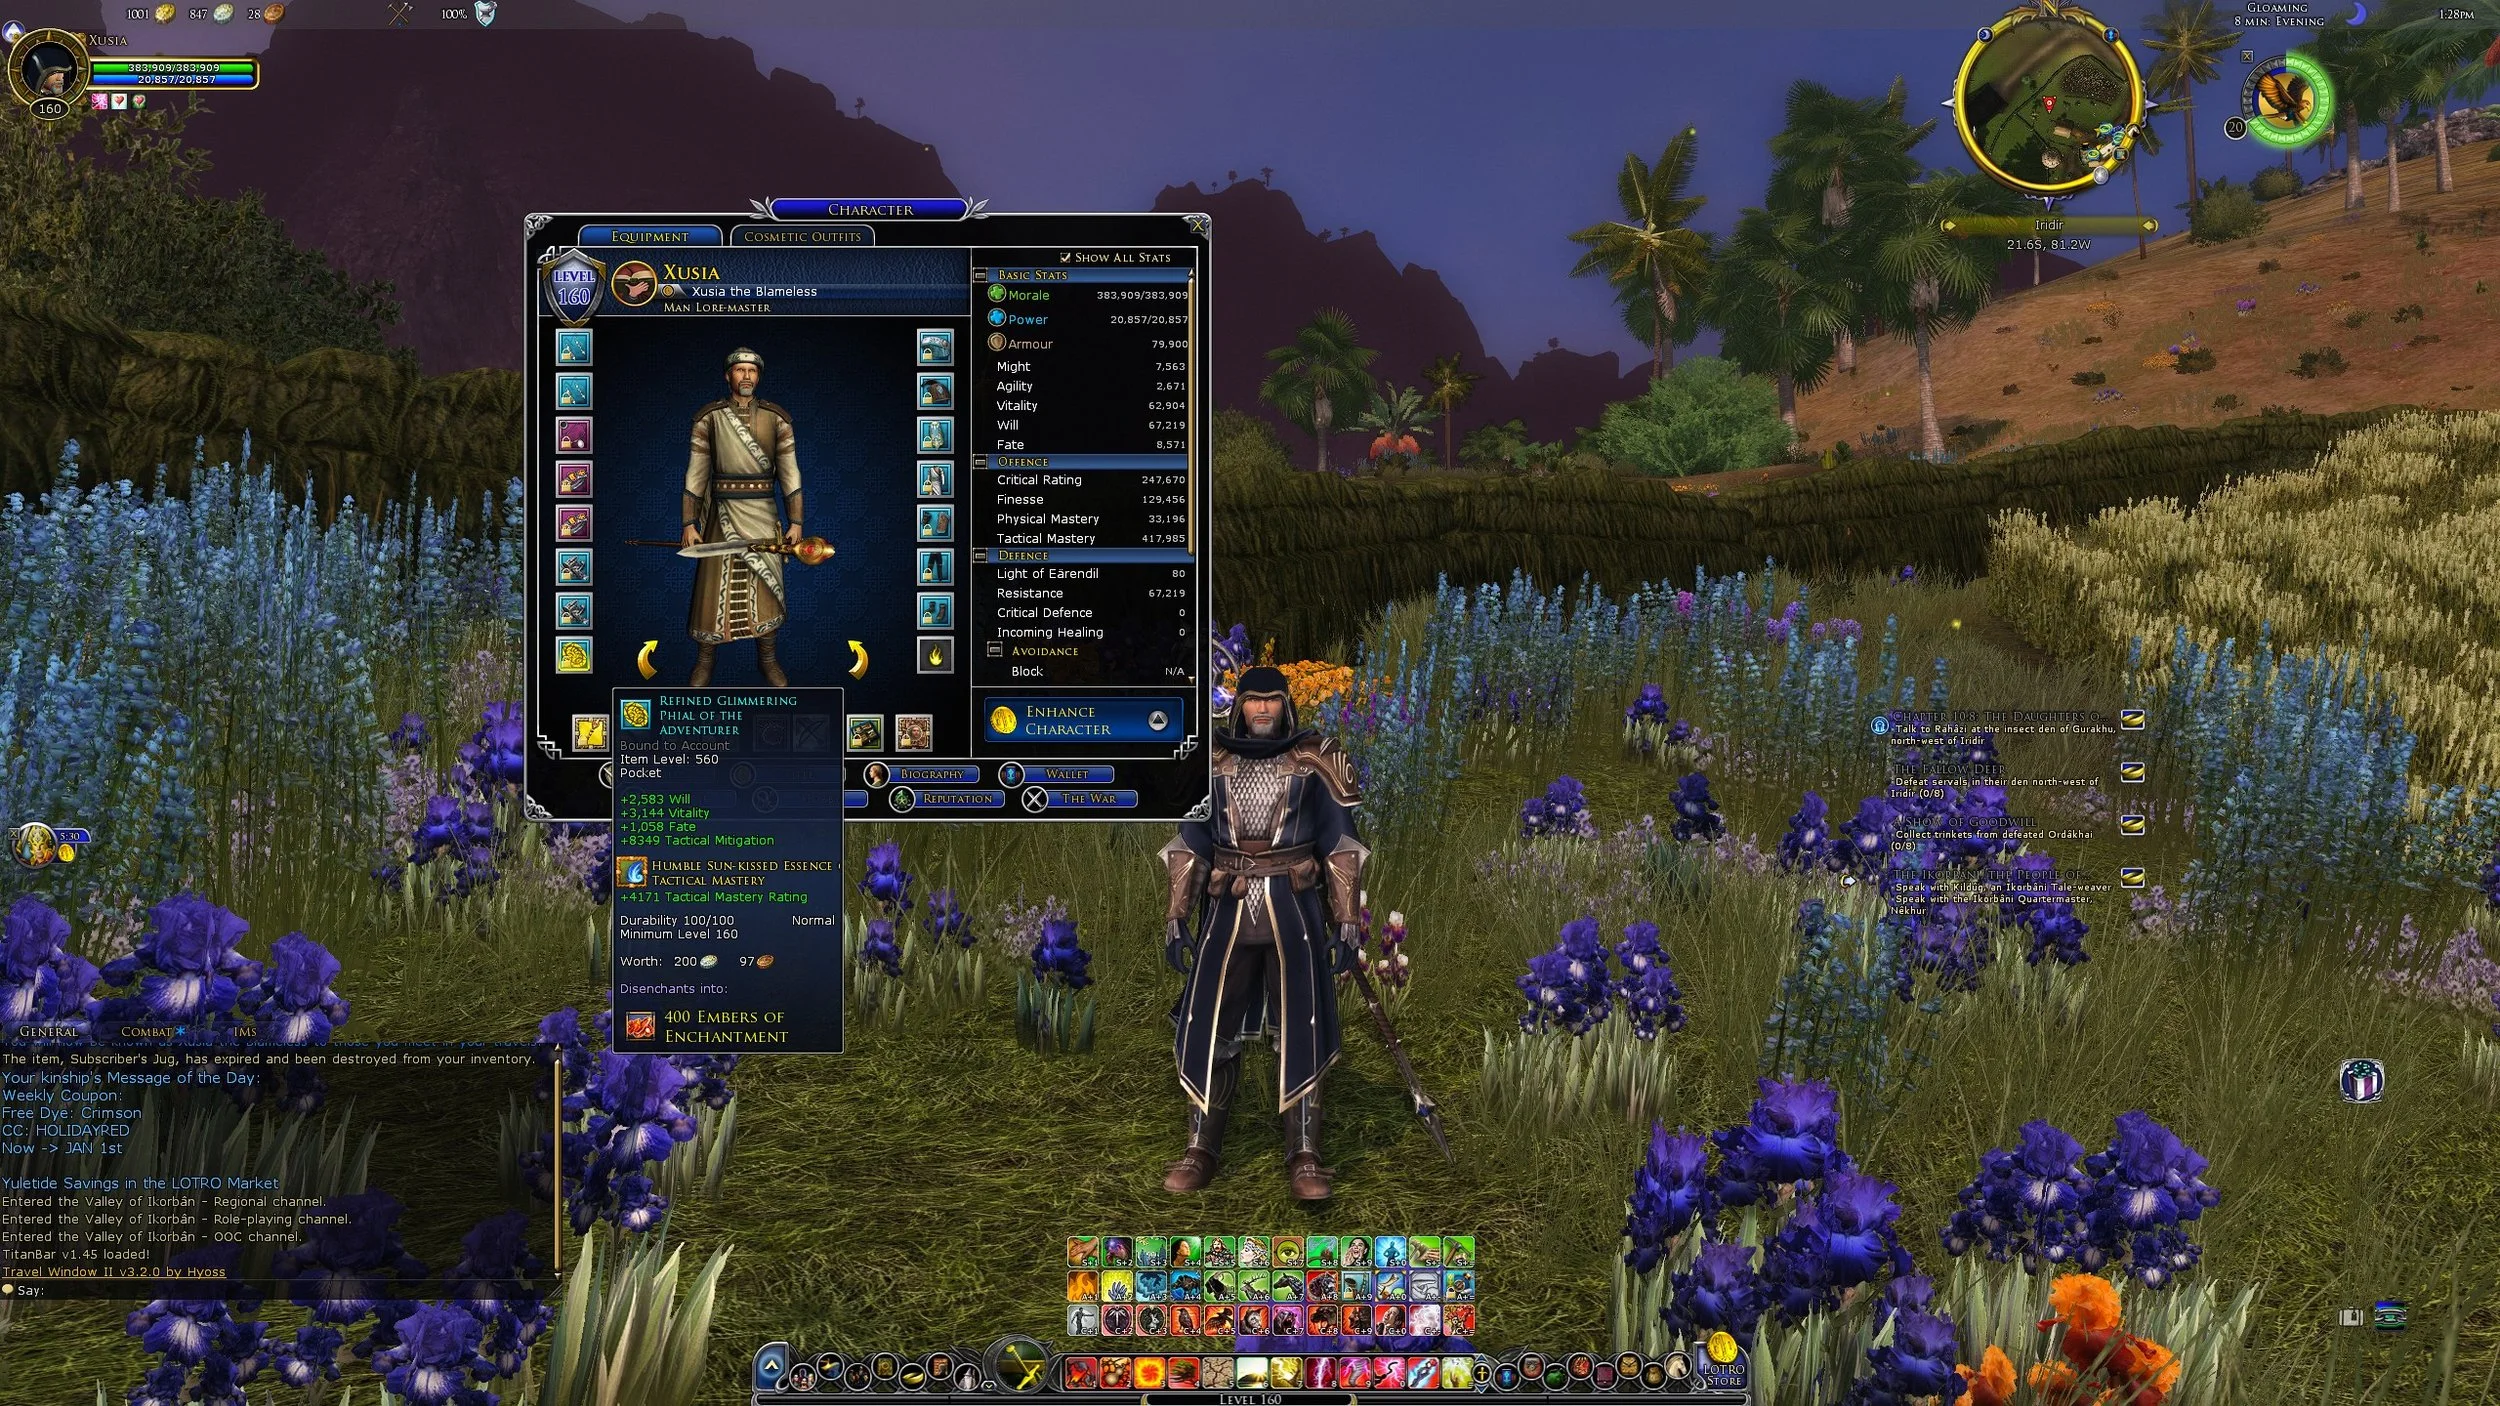
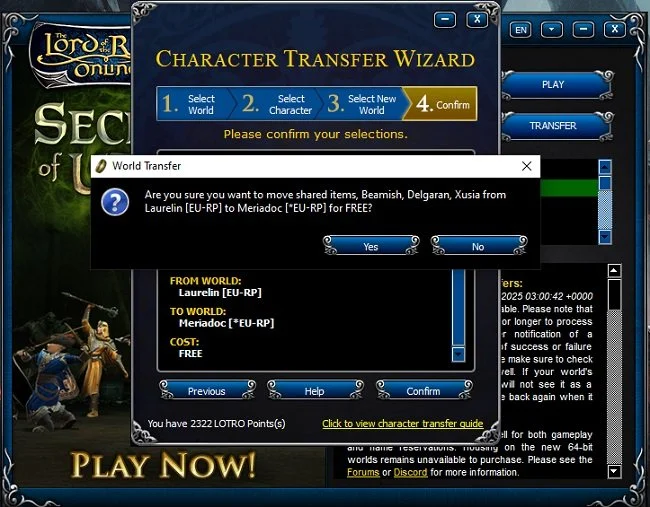
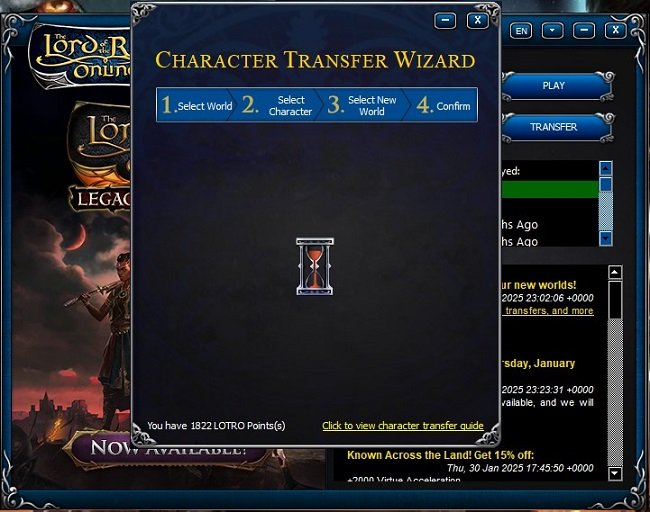
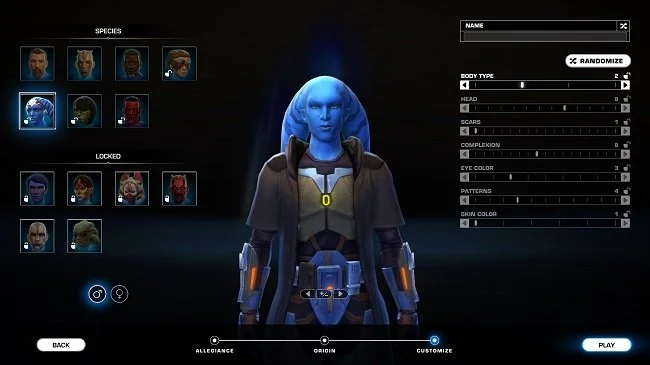
I am currently enjoying a renewed interest in the MMORPG The Lord of the Rings Online since I migrated all my characters from the old 32-bit servers to the new 64-bit replacements. I’ve created a new High Elf Lore-master on Peregrin server and am currently levelling them in a targeted play through of the Epic Story, supplemented by curated side quests. While playing recently, I realised the game UI on this alt wasn’t as I usually have it laid out. So I checked through the various documents on my PC and found a text file I had created many years ago that had a few hints and tips written down. I’ve added a few more and decided to share them as a blog post. I’m sure veteran players will be familiar with many of them but a lot of them are worth repeating. They may prove useful to those new to LOTRO or returning to the game after a long hiatus.
I am currently enjoying a renewed interest in the MMORPG The Lord of the Rings Online since I migrated all my characters from the old 32-bit servers to the new 64-bit replacements. I’ve created a new High Elf Lore-master on Peregrin server and am currently levelling them in a targeted play through of the Epic Story, supplemented by curated side quests. While playing recently, I realised the game UI on this alt wasn’t as I usually have it laid out. So I checked through the various documents on my PC and found a text file I had created many years ago that had a few hints and tips written down. I’ve added a few more and decided to share them as a blog post. I’m sure veteran players will be familiar with many of them but a lot of them are worth repeating. They may prove useful to those new to LOTRO or returning to the game after a long hiatus.
Saving and loading your customised interface:
Once you’ve arranged your LOTRO user interface to your liking simply type the following command in the chat window. /ui layout save X (X being the name of choice for this saved setting). You can then load this layout for any further alts by typing the following in the chat window. /ui layout load X
Filter loot, quests and sounds:
Alt + R opens the in-game filter windows. This allows you to filter out specific quests and their subsequent reminders. It can also be used to ignore unwanted loot. I use it to avoid lootboxes that frequently drop and fill your bags. It can also be used to filter out specific in-game sounds. This is especially handy if you find certain sounds annoying, such as Minstrels constantly yelling or the incessant whinnying of horses at stables.
Renaming pets and skirmish/landscape soldiers:
The Lore-master and Captain’s classes in LOTRO have combat pets that can be renamed by right clicking on them. Skirmish/landscape soldiers can similarly be renamed. Cosmetic pets cannot have their name altered in this fashion. However, you can rename them by typing the following command in the in-game chat window. /cpet rename X (X being your name of choice).
Checking to see how much time you have spent playing a specific alt:
Type the following command in the in-game chat window in chat to see how long you've played that specific character. /played
Select which quest icons are shown on the mini-map:
If you go into Options>UI Settings and tick “Show Trivial Quest Icons in Radar” the game will display the quest icons (rings) for those quests that are below your current level, on your mini-map.
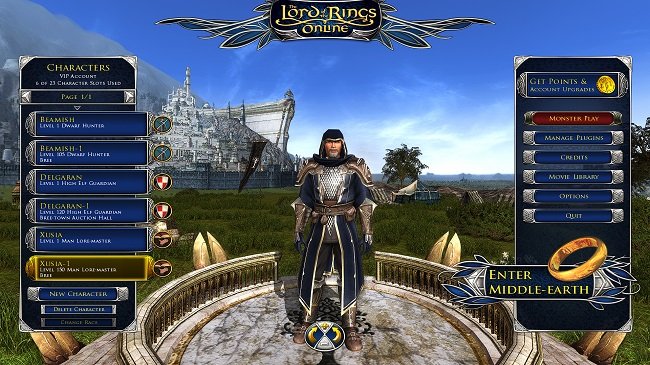
Change the order of your alts on the character select screen:
If you want to sort your characters, prior to clicking on “Enter Middle-earth” click on the small triangle just below where it says “Page”. You can then choose between Name, Level, Class and Last login.
Quick travel skills:
Travelling around the various zones in LOTRO can be difficult at lower levels. Stable access is often gated by quests and reputation etc. There are some travel locations that are more useful than others due to the amount of locations they offer. Return to Glân Vraig is one such location. Based in the Ettenmoors, this skill can be earned at level 20 just by completing the tutorial quest in the Ettenmoors. It offers quick travel to West Bree, Thorin's Gate, Michel Delving and Rivendell. From Rivendell Stables numerous other travel locations are available. Return to Glân Vraig also has the advantage of only having a 5 minute cooldown. Players just starting out in LOTRO, may wish to purchase Return to Lalia's Market skill for 3 mithril coins. It teleports the player to the centre of Bree which is an important travel hub.
Disable combat music:
Whenever you aggro an enemy in LOTRO, the game plays combat music specific to that zone. These audio cues can be useful in notifying that you’ve triggered combat. However, it can also become quite annoying, especially if you’re focused on the ambient score. Hence, you can go into Options>Audio>Sound Features and check the “Disable Combat Music” button, if you wish.
The LOTRO keymap:
I have two monitors attached to my PC. I play LOTRO on the right hand screen and have the game’s default keymap as the desktop wallpaper on my left hand screen. Despite playing the game since 2008 I still forget many of the handy keyboard commands, so it is useful to have a visual reminder in my line of sight. You can find a large keymap image here.